Here's how to build an inexpensive steam distiller for about $20 (not including tools).
I'll use this on my massive spearmint garden -- maybe I will get a couple drips of essential oil to show for it :)
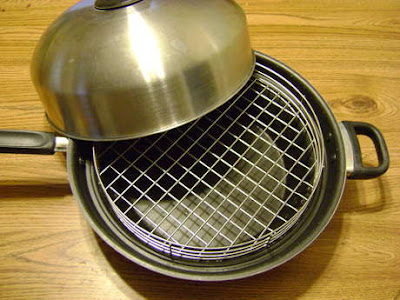
As the steamer, I used an old Turbo Cooker. You might be able to run across an old one for a couple bucks. Something like will work, because the metal tray will hold the mint just above the boiling water, and all the steam will pass through it. Excess water in the mint will just drip back down into the bottom.
Or you can find an old pressure cooker. Really pressure cookers are ideal as a base, because they are designed to seal tight, and have a hole at the top as well.
There then needs to be a way to cool the steam, so that it condenses into oil and hydrosol (the water part that is collected). The essential oil will float on top. Basically, just run tubing through ice water. Then the oil can be picked up with a dropper.
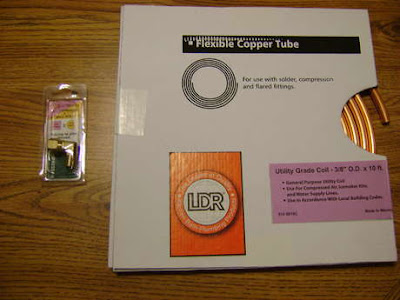
For tubing, I used 10 feet of 3/8" diameter copper tubing (used for ice makers, refrigerators). I got a 3/8" COMP x 1/4" MIP compression-elbow-fitting to connect it to the top. The copper pipe will fit snugly in one end, and I just planned on screwing the fitting into the top of the Turbo Cooker lid. This was about $15 (got it at a farm supply store Rural King).
Then I used an old ice cream container, for cooling the steam. This will just be filled with ice-water, to cool the tubing:
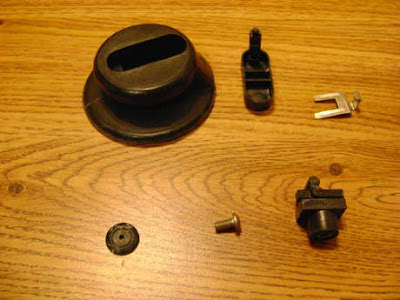
 I took off the top, and there were two holes:
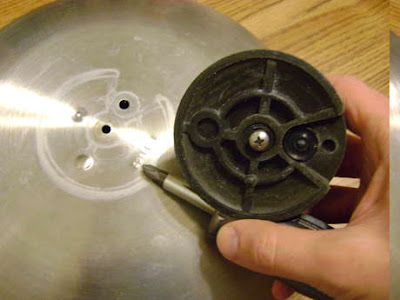
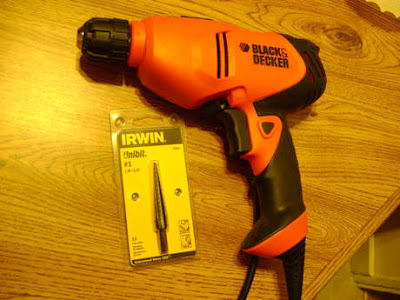
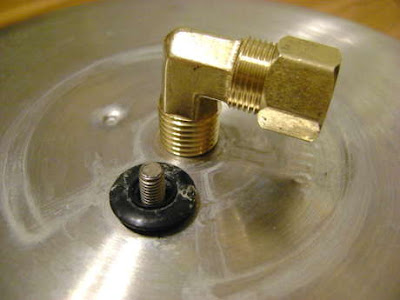
For the one in the center, I used a unibit to open it up to 15/32", so that the elbow fitting would screw in tightly. I really like the unibit, because you can just find the snug fit by trial and error. Plus it saved having to keep changing drill bits. I got this separately from a hardware store (Ace, or Harbor Freight is cheaper).
To plug the other hole, I cannibalized the top part, and pulled out a rubber washer and small bolt. (To dissemble, the whole top comes apart if you pull off the washer).
I used the unibit on the washer, so that it would thread tightly onto the bolt. I would have used rubber on more parts, but wasn't sure if what I saw in the store would take high temperatures without melting.
With both parts connected, the top basically looks like:
Again, I used the unibit to drill a 3/8" hole in the ice-cream container. I coiled the copper wire tighter by hand, just molding it into a helix with two long ends. After I fed it through the ice-cream container, I put a little silicone around the hole to seal it. This part will never come in contact with the oils; it's just for cooling (holding the ice-water). Also, of course, don't let the hot copper tube come in contact with the plastic. The copper and plastic are only touching at the bottom.
The tubing connects to the compression fitting like:

Here's the finished setup:
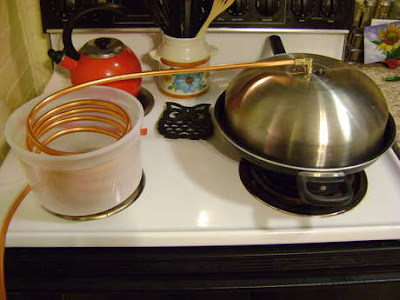
I will probably tie the lid down tighter with something fire-resistant. That will force most all the steam through the top. To prep it all, I just ran clean water through the tubing with the lid upside down and checked for any leaks. If there are any, I would just put nuts on both top/bottom side of the threads, with rubber washers that won't melt.
I'll run a test batch tomorrow. Most things I've read recommend drying plants before distilling though -- because you can put more plant material in the distiller. It's optional though. Also, it's probably worth noting that in terms of herbs in general: some extracts are fairly potent (meaning toxic) when concentrated. Extracts should be handled with care.
Of course, I imagine I could probably go online and buy a gallon of mint oil for the same price as the home-made distiller cost. Although I can produce all sorts of flavors now. :)
No comments:
Post a Comment